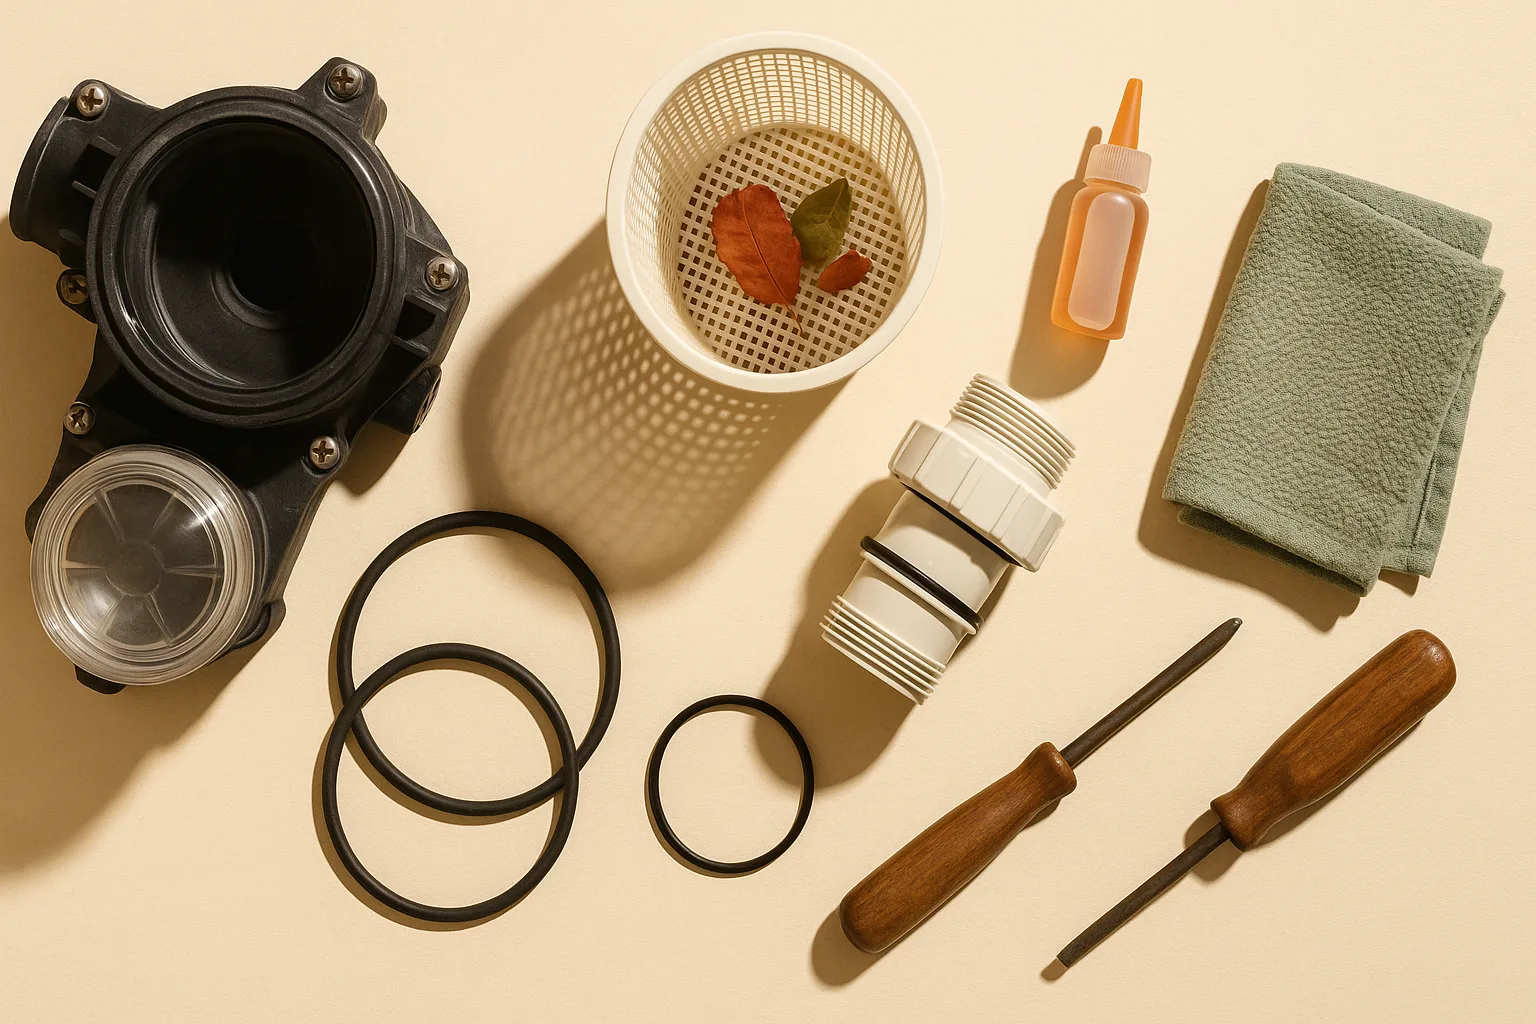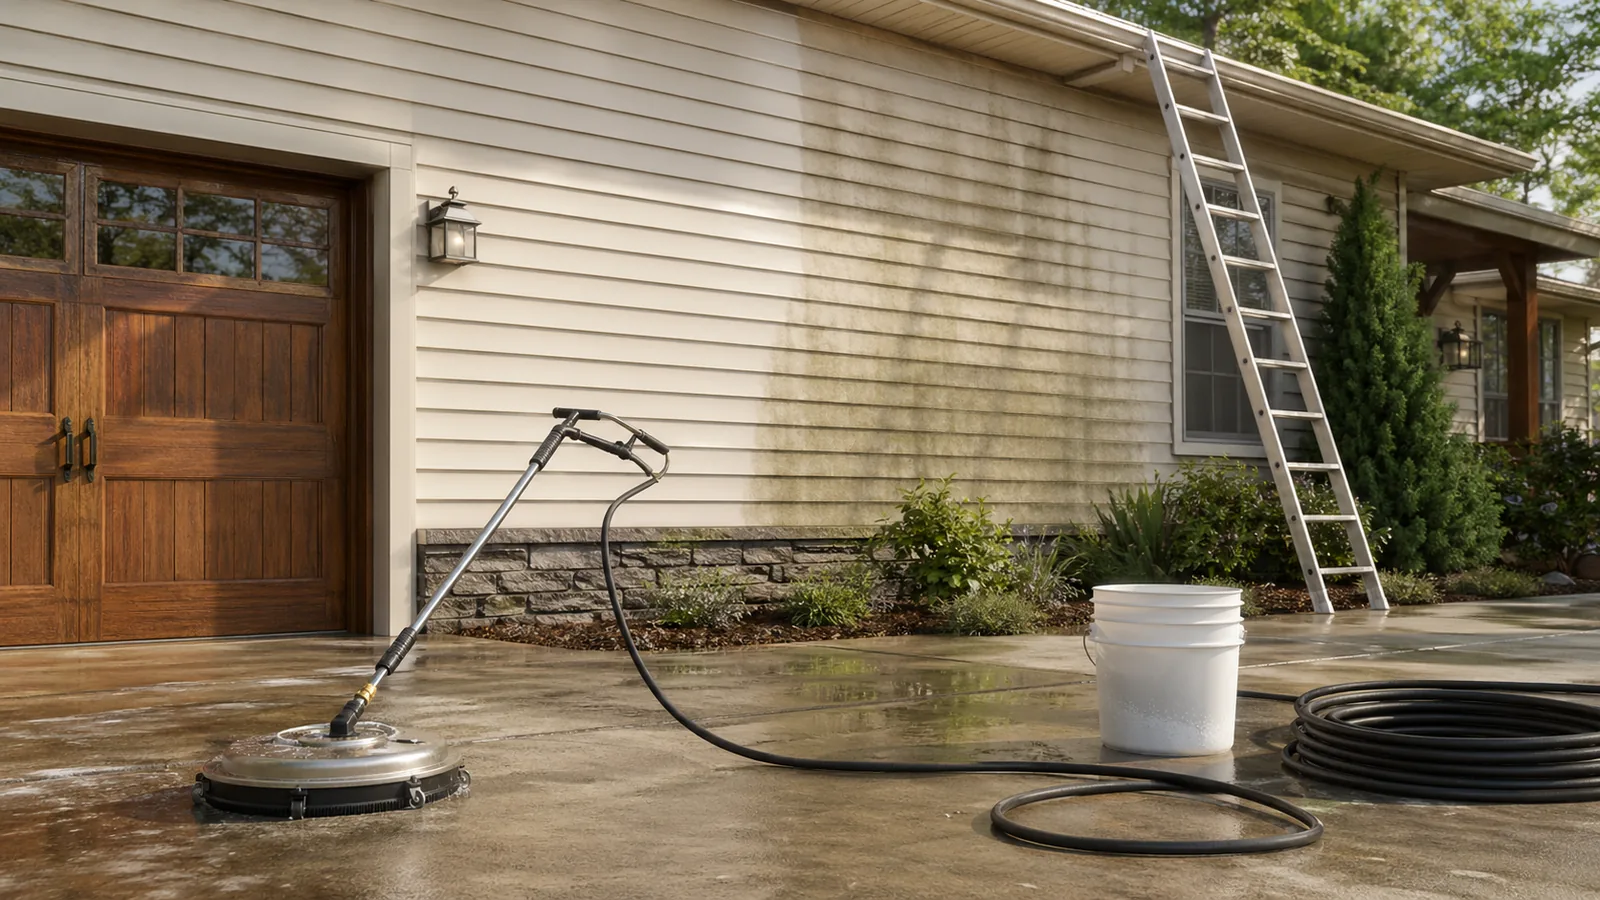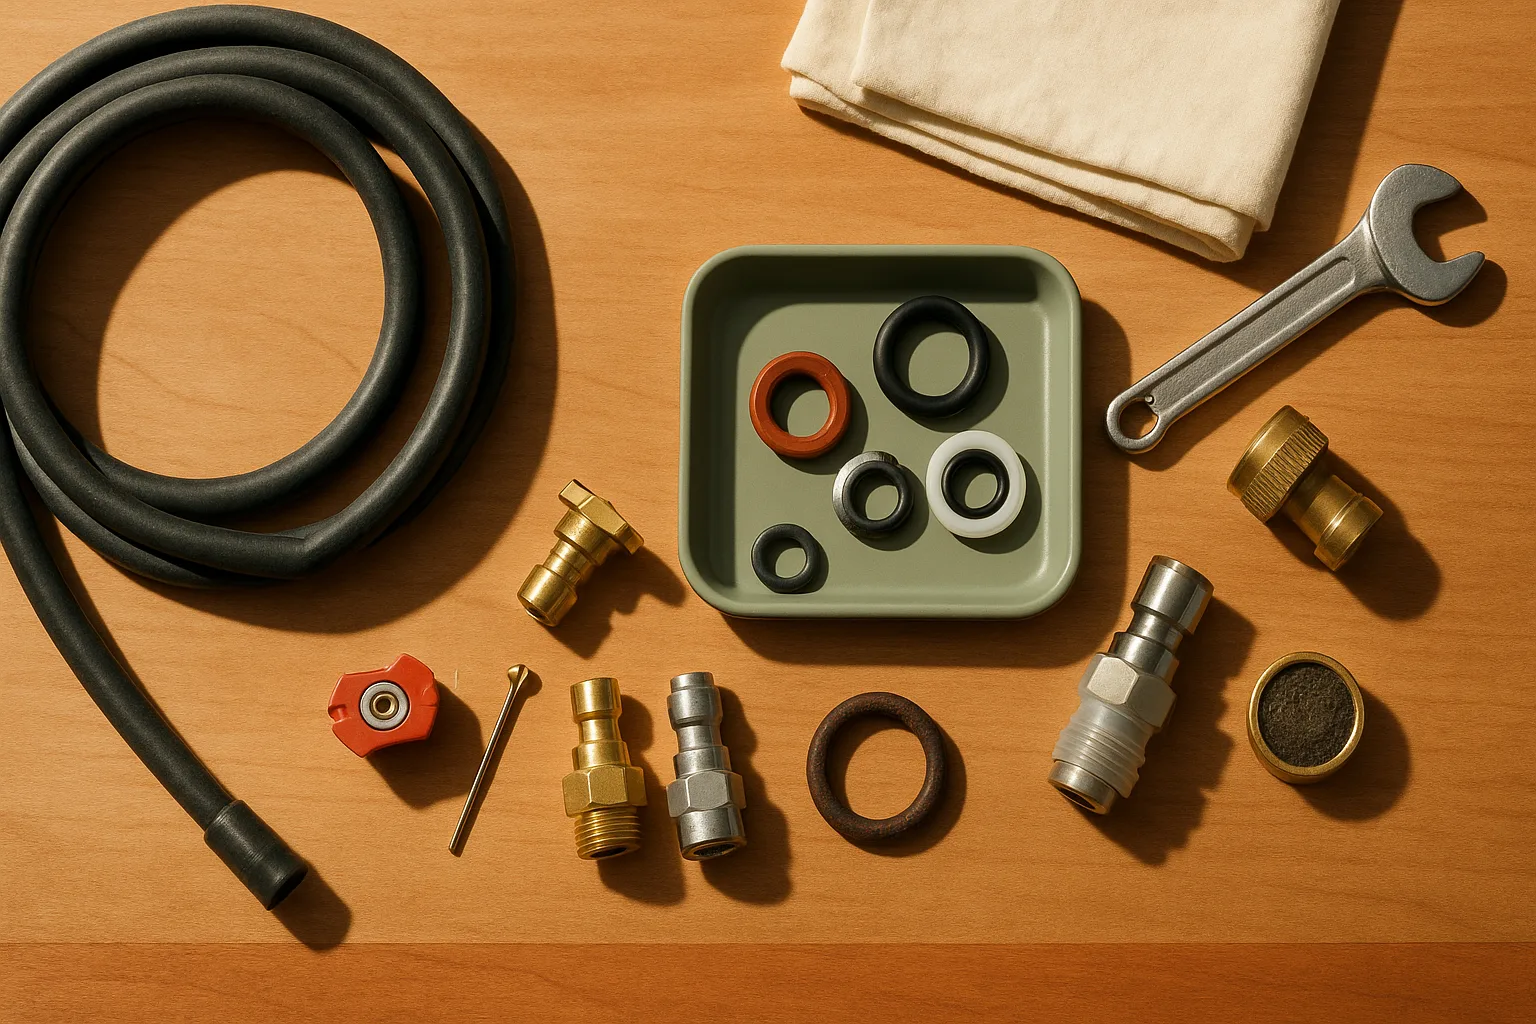
Your gas pressure washer fires right up, the engine sounds strong — then the moment you squeeze the trigger under load, the pressure fades, surges, or drops to a trickle. In most cases, the fix is simpler than you think: a clogged nozzle, a kinked hose, a worn O-ring, a dirty inlet screen, or air trapped in the pump. Those problems are usually quick to check and often involve only a handful of cheap parts. Pressure-loss complaints rarely trace back to internal pump wear — and the carburetor is almost never the first place to look for a hydraulic problem.
This guide walks the right diagnostic path for gas units specifically, separates supply-side failures from pump-side failures, and tells you clearly when to stop turning wrenches and call a pressure washer repair service.
Gas pressure washer starts but loses pressure: quick diagnosis
The engine runs fine but water pressure collapses — that's a hydraulic problem, not an engine problem. Before you spend time chasing the wrong thing, run this 60-second symptom check:
60-second symptom check: - Pressure is fine for 10–20 seconds, then fades gradually → most likely air in the pump or a partially blocked nozzle - Pressure is low from the first trigger pull → most likely inadequate water supply, wrong nozzle size, or a clogged inlet filter - Pressure surges up and down while running → possible unloader valve problem; stop and diagnose before continuing - Engine surges, hunts, or stalls along with pressure loss → now you may have a carburetor or fuel issue layered on top; but fix the water side first - Grinding or knocking from the pump housing → stop the unit immediately; this is an internal pump wear symptom
Likely-cause ranking for gas units (most to least common): 1. Blocked or worn spray nozzle 2. Inadequate water supply or kinked hose 3. Dirty inlet filter / screen 4. Trapped air in the pump after storage or hose changes 5. Leaking O-ring, hose fitting, or quick-connect 6. Sticking or slipping unloader valve 7. Internal pump seal or valve wear
As SIMPSON's troubleshooting page states plainly: "Check your water supply." That's step one — not the carburetor, not the pump.
On the carburetor question: A bad carburetor disrupts engine speed and combustion. It does not directly control water pressure. If the engine holds its RPMs but pressure drops, the carburetor is not the source of your water-pressure problem. SIMPSON's troubleshooting resources treat pressure-loss diagnosis and engine-stall diagnosis as entirely separate paths — and so should you.
Most common causes of pressure loss on a gas pressure washer
Most pressure loss on a gas unit has nothing to do with the pump's internals. SIMPSON's pump troubleshooting page says it directly: "Your SIMPSON may be operating in low-pressure due to an incorrectly sized nozzle or a nozzle that has worn out." Incorrect or worn nozzles are a common cause of low pressure.
Here is the cause-ranked checklist, with each failure type explained:
- Nozzle size or wear — An oversized nozzle orifice reduces PSI because it allows too much water to flow at low resistance. A worn nozzle does the same as the orifice erodes. Both feel identical to the operator: pressure that used to be good, now isn't.
- Hose leaks — A crack, loose quick-connect, or blown hose washer bleeds pressurized water before it ever reaches the wand. The pump is working; the connection isn't.
- O-ring failures — O-rings at hose ends, trigger guns, and wand connections flatten and crack with UV exposure and heat cycling. A compromised O-ring leaks at pressure, sapping PSI.
- Dirty inlet filter / screen — The inlet screen protects the pump from debris in your water supply. When it clogs, the pump starves for water and produces noticeably lower pressure. This is easily confused with a failing pump.
- Trapped air in the pump — Air in the pump head after storage or a hose change prevents the pump from building full pressure. It usually shows as pressure that spikes briefly then drops.
- Sticking or slipping unloader valve — The unloader diverts water back to the inlet when you release the trigger. If it sticks partially open or is set too low, it bleeds off pressure during operation.
Replacement O-rings and quick-connect fittings — rated for gas and electric pressure washers up to 4,500 PSI — are standard pressure washer parts you'll find at Lowe's or Home Depot. Budget less than $15 before you even consider pump work.
Blocked or worn spray nozzle
A blocked or worn spray nozzle is the single fastest cause of pressure drop — and the cheapest fix. When the nozzle orifice is partially clogged, water can't flow freely, and the pump struggles to maintain consistent output pressure. When the orifice is worn wider than spec, it lets water escape too easily at low resistance and PSI falls.
As SIMPSON confirms, "Your SIMPSON may be operating in low-pressure due to an incorrectly sized nozzle or a nozzle that has worn out" — and SIMPSON notes that worn or broken nozzles are a safety hazard, not just an efficiency problem.
Check nozzle size first. Many gas pressure washers ship with color-coded tips, and the BE Power Equipment reference set sold at Home Depot includes red (0°), yellow (15°), white (40°), and soap tips on a standard 1/4-inch quick connector. Those color codes are a useful guide, but the exact orifice size still has to match your machine's rated PSI and GPM. Using a nozzle with the wrong orifice size for your machine's rated output drops effective PSI immediately. The BE Power Equipment 5000 PSI Quick-Connect Nozzle Tip set at Home Depot includes 0°, 15°, 40°, and soap tips on a standard 1/4-inch quick connector and fits most gas units — it's a reliable replacement reference point.
Use a spray-tip cleaning pin to clear blockages. Insert the pin into the nozzle orifice, work it gently in and out, then flush the tip from the back with clean water. If the opening looks visibly enlarged or the spray pattern fans unevenly, replace the tip — it's past its useful life.
Pro Tip: Keep a spray-tip cleaning pin in your pressure washer's accessory bag at all times. A clogged tip is a 2-minute fix; a clogged tip that gets ignored becomes a pump-starving diagnosis rabbit hole.
Cracked hose, loose quick-connect, or failed O-ring
Every joint in your high-pressure circuit is a potential pressure leak. The high-pressure hose running from the pump to the wand operates under sustained PSI that stresses every connection. A crack in the hose, a quick-connect that isn't fully seated, or an O-ring that has gone flat can bleed enough water to cause noticeable pressure loss at the nozzle — even though the pump is working perfectly.
Hose leaks and fitting leaks are separate failure points. Treat them that way:
- Hose cracks — Usually appear near the end fittings where the hose bends repeatedly. Look for moisture or spray misting around the fitting under pressure.
- Loose quick-connects — A quick-connect that hasn't clicked fully seated will leak at the collar. Disconnect, inspect the locking sleeve, reconnect firmly, and listen for the click.
- Failed O-rings — O-rings are the rubber seals inside hose ends, trigger gun inlets, and wand connections. Lowe's stocks replacement O-ring seal sets — including 7-piece kits rated for gas and electric pressure washers up to 4,500 PSI — for under $10. As the Lowe's product description puts it: "Prevent leaks with replacement o-ring seals designed for pressure washer fittings and hose connections to maintain proper sealing."
Replace, don't reuse, any O-ring that looks flattened, cracked, or nicked. An O-ring costs under $1; an undiagnosed leak that keeps masking the real pressure problem costs you an hour of troubleshooting.
A hose washer kit (the flat rubber washers at the garden-hose connection to the pump inlet) is a separate item from the O-ring kit — pick up both. They're cheap enough to replace as a set whenever you're already doing connector work.
Dirty inlet filter or restricted water supply
The inlet screen or filter sits at the point where your garden hose connects to the pump. Its job is to keep grit, sand, and debris out of the pump head. When it gets coated with mineral scale or plugged with debris, the pump is starved of water — and a water-starved pump produces low pressure that can feel exactly like a failing pump.
SIMPSON's troubleshooting guidance is direct: "Clean the screen or replace it if the corrosion is severe."
Water-flow test before you touch the filter: Disconnect the garden hose from the pump, hold it over a bucket, and open the spigot fully. You should see a strong, unobstructed flow. If the flow looks weak, the problem is upstream — a partially closed valve, a kinked or undersized hose, or a genuinely low-flow water supply.
If the supply flow is fine, the screen is the next suspect. Remove the inlet fitting, take out the small screen filter (it usually pulls out with needle-nose pliers or a small pick), and rinse it under running water. A soft brush and clean water handle most mineral buildup. If the screen is corroded, crushed, or can't be cleaned, replace it — they cost under $5 at most power equipment repair shops and online.
Watch Out: Running a gas pressure washer with a restricted inlet — even for a few minutes — can damage pump seals through cavitation. Fix the supply side before starting the engine.
Air trapped in the pump after storage or hose changes
Air in the pump head is a common and easily overlooked cause of pressure that builds briefly then collapses. It happens most often after the machine has been stored, after you disconnect and reconnect hoses, or after the unit runs dry. Air compresses; water doesn't. A pump head with trapped air can't generate consistent hydraulic pressure.
The fix is a simple purge, and SIMPSON spells it out clearly: "Turn off the hose spigot and reconnect the hose to the pressure washer. Turn the water back on and then squeeze the trigger to remove any trapped air."
For hose purging before connection, SIMPSON's guidance is equally specific: "Remember to always purge the air from the hose by allowing the water to run for 30 seconds before connecting it to the pressure washer."
Full purge routine: 1. With the engine off, connect the hose to the pump inlet. 2. Open the spigot fully and let water run through the hose for 30 seconds before connecting it to the unit. 3. Connect the hose to the pump. 4. Hold the trigger gun open (with no nozzle attached) for 20–30 seconds to let water flow freely through the system, purging air from the pump head. 5. Install the nozzle tip, start the engine, and test pressure.
This step costs nothing and takes under two minutes. Do it every time after storage or hose reconnection before you diagnose anything else.
Unloader valve sticking or slipping
The unloader valve is the pressure washer's bypass mechanism. When you release the trigger, the unloader diverts water in a loop back to the pump inlet to prevent pressure from spiking dangerously while the pump keeps running. When you squeeze the trigger, it closes and directs full flow to the wand.
If the unloader sticks partially open, it bleeds off pressure even when the trigger is pulled — the pump works, but a portion of the water bypasses the circuit. If the unloader is set too low, it starts diverting flow before you reach rated PSI.
Many gas pressure washers — including SIMPSON models — have a pressure control knob on the pump that functions as part of the unloader adjustment. SIMPSON's manual describes it this way: "To lower the pressure, turn the pressure control knob on the pump counter-clockwise to the desired pressure. To return the pump pressure to the factory setting, turn the pressure control knob on the pump clockwise until it stops."
When adjustment is reasonable: If the knob was bumped counter-clockwise and pressure dropped, turning it back clockwise to the stop restores factory setting. That's a two-second fix.
When replacement is smarter than further adjustment: SIMPSON's professional pressure washer manual includes a hard warning — "DO NOT overtighten the pressure control knob, if overtightened the knob COULD break and result in immediate loss of water pressure and costly repairs to the unit." If the knob feels loose, spins freely, or pressure remains inconsistent after returning to factory setting, stop adjusting and contact a pressure washer repair service. An unloader valve replacement is a defined repair — it's not a tuning exercise.
Tools and parts to fix pressure loss fast
Gather these before you start. Having everything on hand means the common fixes take 10 minutes instead of two trips to the hardware store.
Essential tools: - Needle-nose pliers (for removing inlet screen) - Adjustable wrench or hose-end wrench - Flat-head screwdriver - Small pick or dental probe (for O-ring removal) - Soft-bristle brush (for screen cleaning)
Consumables — keep these on hand: - Spray-tip cleaning pin — clears nozzle blockages without damaging the orifice; usually included with nozzle sets - Replacement O-ring set — Lowe's 7-piece O-ring sets rated for gas and electric pressure washers up to 4,500 PSI run under $10 and cover most hose and fitting sizes; "designed for both gas and electric pressure washers up to 4500 PSI" - Quick-connect fittings — a replacement quick-connect kit converts or replaces damaged fittings on both pump outlet and wand/gun connections; rated up to 4,500 PSI - Spray nozzle set — the BE Power Equipment 5000 PSI Quick-Connect Nozzle Tips set (0°, 15°, 40°, soap) with 1/4-inch quick connector fits most gas units - Hose washer kit — flat rubber washers for the hose-to-pump connection; cheap and often the first seal to fail - Inlet filter/screen — keep a spare; they're part-specific but cost under $5
Optional (pump-level repair): - Pump repair kit — model-specific seal and valve kit for your pump; only useful if internal wear is confirmed; discussed in detail below
Cost Snapshot: The full consumables list — O-rings, hose washers, a nozzle set, and a cleaning pin — runs $20–$40 at Lowe's or Home Depot. A pump repair kit for a name-brand pump (AAA, Cat, or Annovi Reverberi) runs $25–$80 depending on model. Compare that to a shop diagnostic fee of $60–$100 before any labor.
Step-by-step diagnosis for a gas pressure washer that loses pressure
Work through these steps in order. The sequence is deliberate: supply-side checks come first because they're free and fast; pump-side checks come later because they require more time and, potentially, parts. Don't skip steps or start from the bottom.
At a Glance: - Time: 10–20 minutes for steps 1–4; 30–60 minutes if step 5 reveals pump issues - Cost: $0–$40 for supply/nozzle/O-ring fixes; $25–$80+ for pump-level parts - Skill level: Beginner for steps 1–4; intermediate for step 5 - Tools: Pliers, wrench, cleaning pin, replacement O-rings/nozzles
- Verify water flow at the spigot and hose — open the spigot fully, check the hose for kinks, and confirm the supply isn't restricted before you suspect the pump.
- Inspect the nozzle, wand, and trigger gun — clean or replace the spray tip, match the orifice size to the machine, and check the gun and wand for cracks.
- Check every hose, fitting, and O-ring for leaks — inspect the pump outlet, hose body, quick-connects, gun inlet, and hose washer at the pump inlet.
- Clean the inlet filter and purge trapped air — rinse the screen, then purge the hose and pump head until water flows steadily.
- Test the unloader and listen for abnormal pump behavior — return the pressure control knob to factory setting and stop if the pump still surges or grinds.
Step 1: Verify water flow at the spigot and hose
A gas pressure washer engine running at full throttle with insufficient water supply will produce weak, inconsistent pressure that can feel like a pump problem. It isn't.
- Turn the spigot fully open — not halfway, all the way.
- Disconnect the hose from the pump inlet.
- Hold the open end over a bucket and time the flow. A strong, unrestricted flow should pour freely from the hose. If the flow looks weak, suspect a partially closed valve, a house-side shutoff not fully open, or a heavily kinked hose somewhere along the run.
- Check the entire length of the hose for kinks, especially near both end fittings.
- Confirm the hose is at least 5/8-inch diameter. A 1/2-inch hose can restrict flow enough to starve a gas pressure washer pump at full demand.
- Shorter hose runs generally perform better — if you're using 100 feet of hose to reach the machine, the friction losses add up.
As SIMPSON's troubleshooting page instructs: "Check your water supply." It's the first step for a reason.
Step 2: Inspect the nozzle, wand, and trigger gun
With the engine off and pressure released (hold the trigger open after shutoff to bleed residual pressure), remove the spray tip.
- Hold the tip up to light and look through the orifice — you should see a clean, round opening. Any debris, scale, or asymmetry means it needs cleaning or replacement.
- Insert the spray-tip cleaning pin into the orifice and work it back and forth gently. Flush the tip from the rear with clean water.
- Check that the tip's color code and orifice size match your machine's rated PSI and GPM. An oversized tip (wrong size for your unit) is a common mistake after buying a universal nozzle set. As SIMPSON notes, low pressure can result from "an incorrectly sized nozzle or a nozzle that has worn out."
- Reinstall the cleaned tip and test. If pressure is still low, swap in a brand-new tip from a replacement set rated for your machine's PSI.
- If you're applying soap: use the black low-pressure nozzle. Per SIMPSON's FAQ, "you must apply soap with the black, low-pressure nozzle".
- Inspect the wand and trigger gun for cracks at stress points near the connections. A cracked wand body leaks internally and robs pressure.
Replacement threshold: If the spray tip has visible erosion at the orifice, replace it. A worn tip is classified as a safety hazard, not just an efficiency issue.
Step 3: Check every hose, fitting, and O-ring for leaks
With the machine running at pressure (or with a helper holding the trigger), walk every connection and look for water misting, dripping, or spraying.
- Pump outlet to high-pressure hose — Check the fitting where the hose screws or clicks onto the pump. Moisture at this joint usually means a blown hose washer or failed O-ring.
- High-pressure hose along its full length — Run your hand along the hose (with the machine off and pressure bled) feeling for wet spots, bulges, or cracks. Pay extra attention 6–12 inches from each end fitting.
- Quick-connect at the wand/gun inlet — Press the quick-connect collar in firmly and pull back to confirm it's fully seated. A click indicates seating; a loose collar leaks.
- Trigger gun inlet O-ring — Remove the quick-connect from the gun, look inside the inlet, and inspect the O-ring. If it's flattened, cracked, or extruded, replace it.
- Hose-to-pump connection — The flat rubber washer inside this fitting is the most commonly overlooked seal. If it's deformed, replace it from your hose washer kit.
Replace any O-ring that shows wear — don't reinstall a compromised seal. Lowe's replacement O-ring sets for pressure washers run under $10 and cover the full set of sealing points on most gas units.
Watch Out: Tiny leaks at quick-connect fittings can be nearly invisible until pressure peaks. If you can't see a leak but suspect one, wrap a dry paper towel around each fitting briefly while the machine runs — moisture will transfer immediately.
Step 4: Clean the inlet filter and purge trapped air
Two quick procedures that often solve the problem when everything else looks fine.
Inlet filter cleaning: 1. Turn off the engine and relieve pressure by squeezing the trigger. 2. Turn off the water supply and disconnect the hose from the pump inlet. 3. The inlet screen is a small cylindrical or disc-shaped mesh filter inside the pump inlet port. Remove it with needle-nose pliers or a small pick. 4. Rinse the screen under running water and scrub lightly with a soft brush to clear mineral scale and debris. 5. If the screen shows corrosion that won't clean off, replace it. Per SIMPSON's guidance: "Clean the screen or replace it if the corrosion is severe." 6. Reinstall the screen, reconnect the hose, and proceed to the air purge.
Air purge routine: 1. With the engine still off, reconnect the hose firmly to the pump. 2. Open the spigot and allow water to run through the hose for 30 seconds before use — this purges air from the hose itself, per SIMPSON's recommendation. 3. With the nozzle removed from the wand, squeeze the trigger and hold it open for 20–30 seconds. Water — not air — should flow steadily from the wand end. 4. Once steady water flow is confirmed, install the nozzle, start the engine, and test.
Per SIMPSON's troubleshooting instructions: "Turn off the hose spigot and reconnect the hose to the pressure washer. Turn the water back on and then squeeze the trigger to remove any trapped air."
Step 5: Test the unloader and listen for abnormal pump behavior
If steps 1–4 don't restore pressure, the problem is deeper. Now you're evaluating the unloader valve and listening for internal pump symptoms.
Unloader check: 1. Locate the pressure control knob on the pump (usually a knurled knob or adjustment screw on the pump body — consult your model's manual). 2. Turn it clockwise until it stops to return to factory pressure setting, per SIMPSON's manual. 3. Run the machine and test pressure. If pressure improves, the knob had been accidentally adjusted. 4. Do not continue turning past the clockwise stop. SIMPSON's professional manual warns explicitly: "DO NOT overtighten the pressure control knob, if overtightened the knob COULD break and result in immediate loss of water pressure and costly repairs to the unit."
Listening for abnormal pump behavior: - Steady, low humming — normal pump operation - Pulsing or surging pressure — treat this as an editorial red flag for a sticking unloader or partial valve problem - Grinding or knocking — treat this as an editorial red flag for internal pump wear; stop the machine immediately - High-pitched squealing — treat this as an editorial red flag for cavitation from insufficient water supply; go back to Step 1
If pressure is still inconsistent after the factory reset and the unit runs but surges — or if you hear grinding or knocking — this is outside the DIY window. Contact a power equipment repair shop for pump-side diagnostics.
DIY fixes that usually restore pressure in 10 to 20 minutes
Most pressure-loss problems end here. The following four fixes resolve the majority of complaints without any pump disassembly.
Fix 1: Nozzle cleaning or replacement - Time: 5 minutes - Parts: Spray-tip cleaning pin and replacement nozzle tip (~$10–$20 for a set) - How: Remove tip, clean with pin, flush, reinstall. If worn, swap with a correctly sized replacement tip from a set like the BE Power Equipment 1/4-inch Quick-Connect Nozzle Tips.
Fix 2: O-ring replacement - Time: 5–10 minutes per connection - Parts: O-ring set rated for gas pressure washers up to 4,500 PSI (~$8–$10 at Lowe's) - How: Relieve pressure, remove fitting, pry out old O-ring with a small pick, seat new O-ring in groove, reassemble finger-tight plus 1/4 turn.
Fix 3: Hose washer replacement - Time: 2–3 minutes - Parts: Hose washer kit (~$3–$5) - How: Unscrew the hose from the pump inlet, pull out the old flat washer, press in the new one, reconnect and hand-tighten.
Fix 4: Inlet filter cleaning - Time: 5–10 minutes - Parts: None (or a replacement screen, ~$3–$5 if corroded) - How: Remove screen from inlet port, rinse under tap water with a soft brush, reinstall. If corroded, replace.
Pro Tip: Do all four of these as a seasonal maintenance package before your first spring use. Total cost under $20, total time under 30 minutes, and you'll prevent most in-season pressure complaints before they start.
When a pump repair kit or pro service is the right move
This is the section that separates a genuine gas-pressure-washer diagnostic guide from the generic electric-unit content cluttering the current search results. The fixes above handle the majority of pressure-loss complaints. The cases below do not.
DIY vs Pro: If your pressure loss is resolved by cleaning a nozzle, purging air, or swapping an O-ring, you're done. If pressure remains low, surging, or drops to zero after completing the five-step sequence — and the engine is running normally — the problem is inside the pump. That's a different repair category.
Internal pump repair requires disassembly, specific replacement seals and valves, and accurate torque reassembly. On a name-brand pump (AAA, Cat Pumps, Annovi Reverberi), a pump repair kit is available and the job is learnable for a mechanically confident person. On a budget pump with a plastic head, a repair kit may cost nearly as much as a replacement pump assembly.
Before ordering parts, confirm the machine is worth repairing: a $300 entry-level gas pressure washer with a failed pump and a pump repair kit at $60 plus two hours of your time is borderline. A $600–$1,200 machine with a quality AAA or Cat pump is worth servicing properly.
For machines within their service life, a qualified pressure washer repair service or power equipment repair shop will diagnose the pump accurately, order the right parts, and reassemble it to spec — for less cost than the risk of an incorrect DIY rebuild that damages the pump head.
Signs of worn pump seals or sticking valves
These symptoms indicate the pump's internal components — seals, pistons, and inlet/outlet valves — are failing. They don't respond to the five-step fix sequence above.
Stop and inspect if you see or hear: - Visible oil in the pump water output — treat this as an editorial red flag for seal failure in the pump path - Grinding or knocking from the pump housing — treat this as an editorial red flag for internal mechanical wear; running the unit further can cause more damage - Cracked or weeping pump housing — treat this as an editorial red flag for structural failure; the pump needs replacement, not repair - Inconsistent pressure that doesn't resolve after nozzle, filter, O-ring, and air-purge cleanup — sticking inlet or outlet valves are the likely cause - Pressure loss that developed after the machine sat through freezing temperatures — treat this as an editorial red flag for freeze-related internal damage that may not show externally
SIMPSON's professional pressure washer documentation confirms that pump-side failures requiring service can be sudden and significant — overtightening the pressure control knob alone "COULD break and result in immediate loss of water pressure and costly repairs to the unit." Internal wear produces the same outcome, just more gradually.
How to choose a pump repair kit for your model
A pump repair kit includes the seals, O-rings, valves, and sometimes pistons for the specific pump on your machine. The key word is specific.
Do not buy a pump repair kit based on PSI rating alone. A 3,200 PSI pump from one manufacturer uses completely different internal dimensions than a 3,200 PSI pump from another. The repair kit must match: - Your pump's manufacturer and model number (not just your pressure washer brand) - The exact pump revision or series (AAA pumps, for example, have multiple series — 4000, 4200, PP, and others — with different seal kits) - The pump's year of manufacture if the design was updated mid-production run
As SIMPSON's manuals demonstrate, even the pressure-control adjustment procedure is model-specific. Repair-kit selection is no different.
Where to find the pump model number: Look for a label on the pump body itself, separate from the pressure washer's main label. The pump model is typically a separate number (e.g., AAA Technologies 4200 Series). Enter that number directly into the parts search at your retailer or the pump manufacturer's website.
Pro Tip: Take a photo of the pump label before ordering anything. Pump labels are in awkward positions and the printing wears off fast — having the photo means you're not reassembling with the wrong kit.
Pressure washer troubleshooting red flags that mean stop and call a shop
When to Call a Pro: Do not continue DIY troubleshooting if any of the following are present:
- Visible oil in the water coming from the pump outlet — seals have failed, continued operation damages the pump further
- Grinding, knocking, or rattling from the pump housing — mechanical wear; running the unit causes escalating damage
- Cracked pump housing — water is migrating through structural fractures; not repairable with O-rings or seals
- Pressure loss that developed after freezing or off-season storage without proper winterization — freeze damage to internal pump components is often invisible externally
- Surging or pulsing pressure after completing all five diagnostic steps — sticking unloader or valve failure requiring pump disassembly
- Pressure dropped to zero immediately after adjusting the pressure control knob — the knob may have broken internally, requiring pump service
- Engine runs normally but zero pressure at the nozzle after confirming water supply, clean filter, clean nozzle, and air purge — internal valve failure; the pump is not pumping
These are the signals where a pressure washer repair service saves you from a more expensive mistake. A shop diagnostic for a gas pressure washer typically costs $60–$100. If the pump is repairable, labor and parts run $100–$250 for a quality pump. If it isn't, you walk away with a clear answer and can make a purchase decision from a position of information, not frustration.
Gas pressure washer FAQ
Can a bad carburetor cause a pressure washer to lose pressure?
A bad carburetor cannot directly cause water-pressure loss. The carburetor controls fuel and air mixing for the engine — it has no connection to the hydraulic side of the pressure washer.
If the carburetor is failing, you'll see engine-side symptoms: the engine surges at idle, hunts for RPM under load, stalls when you pull the trigger, or struggles to start. These are combustion problems. A pressure washer running a carburetor that delivers inconsistent RPM will produce inconsistent pressure as a secondary effect — but the primary symptom is the engine behavior, not a clean engine with mysteriously low water pressure.
SIMPSON's troubleshooting resources treat pressure-loss diagnosis and engine-stall diagnosis as completely separate paths. If your engine is running smoothly and holding RPM but pressure is low, the carburetor is not the place to start. Work the five steps above. If the engine is surging or stalling, a power equipment repair technician should diagnose the carburetor separately — but first rule out water supply, nozzle, O-rings, and air in the pump.
What size nozzle should a gas pressure washer use?
The correct nozzle size depends on your machine's specific rated PSI and GPM — not just one or the other. Nozzles are sized by their orifice diameter, which determines how much water (GPM) can flow at a given pressure (PSI). An orifice that's too large for your pump's output capacity bleeds off PSI; one that's too small restricts flow and can cause pressure spikes.
The color-coding system gives you starting point guidance: red (0°) for maximum pressure on tough stains, yellow (15°) for concrete and stubborn dirt, green (25°) for general washing, white (40°) for delicate surfaces, and black for soap application only. But the orifice size within each color must match your unit's rated GPM.
Most replacement pressure washer nozzle sets — including the BE Power Equipment 1/4-inch quick-connect set rated to 5,000 PSI and 3.5 GPM — are sized for mid-to-high-output gas units. Confirm the set's GPM rating matches or slightly exceeds your machine's rated GPM before buying.
Should I replace the hose, fittings, or pump first?
Follow cheapest-first order, matched to your symptoms:
| Symptom | First replacement | Cost |
|---|---|---|
| Visible leak at hose fitting | Hose washer / O-ring | $3–$10 |
| Quick-connect won't seal | Quick-connect fitting set | $8–$15 |
| Low pressure, no visible leaks | Spray nozzle tip set | $10–$25 |
| Low pressure after filter/nozzle/O-ring cleanup | Pump repair kit (model-specific) | $25–$80 |
| Oil in water, grinding noise, cracked housing | Professional pump service or replacement | $100–$300+ |
Don't buy a pump repair kit before you've confirmed the supply side is clean and the nozzle, O-rings, and filter have been addressed. As SIMPSON's troubleshooting guidance consistently shows, most pressure-loss calls resolve at the supply and nozzle level. Jump to pump parts only when those checks are definitively clear.
If there's visible pump damage — a broken pressure control knob, cracked housing, or oil in the water — skip the repair kit and go straight to a pressure washer repair service. Those are not repair-kit scenarios; they're service calls.
Related pressure washer repair reading
Once you've restored pressure, the work that prevents the next breakdown is worth reading:
- Pressure washer pump maintenance — how to check pump oil, flush the pump before winter storage, and use pump saver/anti-freeze fluid to prevent the freeze damage described in the red-flags section above
- Nozzle selection guide — how to match nozzle orifice size to your machine's PSI and GPM rating, and when to use each color-coded tip angle for specific surfaces
- Seasonal storage and winterization — the exact steps to protect a gas pressure washer through off-season storage, including pump flush, fuel stabilizer, and proper hose disconnection
These three topics cover the failure modes that send most gas pressure washers to power equipment repair shops — and most of them are preventable with one hour of end-of-season maintenance.
Sources & References
- SIMPSON Cleaning: Troubleshooting Low or No Pressure — manufacturer diagnostic sequence; water supply and air purge guidance
- SIMPSON Cleaning: Troubleshooting Low Pressure or Motor Stalls — inlet screen guidance, air purge from hose, 30-second pre-connection purge
- SIMPSON Cleaning: How to Fix a Pressure Washer Pump — nozzle size and wear as primary low-pressure cause
- SIMPSON Cleaning: FAQs — black nozzle required for soap application
- SIMPSON Professional Pressure Washer Manual (PS60841) — pressure control knob overtightening warning
- SIMPSON Pressure Washer Manual (7110656) — pressure control knob adjustment procedure
- BE Power Equipment 5000 PSI Quick-Connect Nozzle Tips at Home Depot — nozzle set specs and compatibility reference
- Replacement O-Ring Seals for Pressure Washers at Lowe's — O-ring and quick-connect parts reference, rated to 4,500 PSI
Keywords: unloader valve, spray-tip cleaning pin, quick-connect fittings, O-rings, hose washer kit, inlet filter, pump repair kit, AAA pump, gas pressure washer, PSI, GPM, cold-water pressure washer, pressure washer hose, spray nozzle set, pressure washer pump seal